For the tools, materials and devices required for making a fusion-splicing hybrid cable, refer to the following table.
| Materials | 工具 | 设备 | |||
|---|---|---|---|---|---|
| Optical-fiber heat-shrinkable sleeve (60 mm long and reinforced with stainless steel wires) | 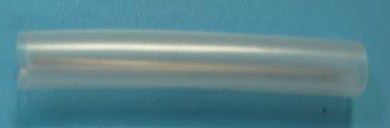 | Sheath cable stripper | 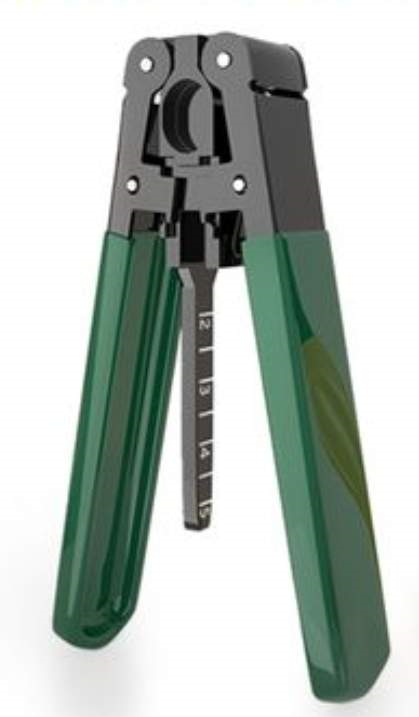 | Single-core fiber fusion splicer (It is recommended to use a Fujikura 80C+ or another mainstream product with the fiber-core alignment function) | 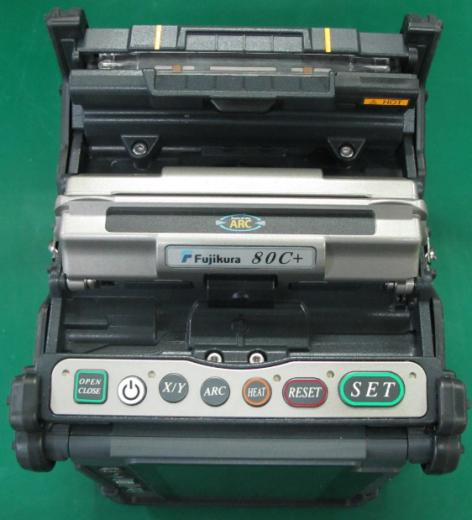 |
| Fusion-splicing protective tube | 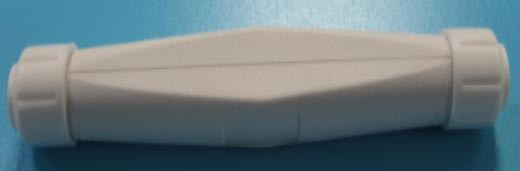 | Diagonal pliers | 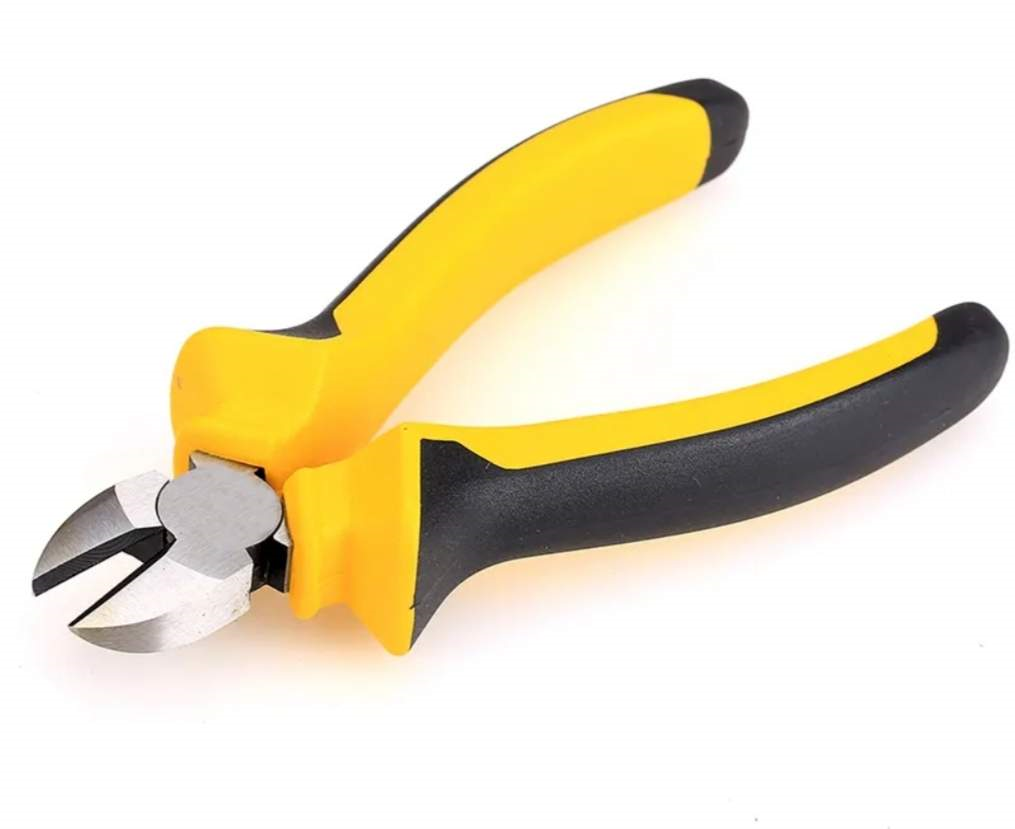 | ||
| Optical-fiber pigtail cable (a G.657A2 single-mode optical-fiber pigtail cable with a finished LC connector. The recommended length of the pigtail cable is 50 cm.) | 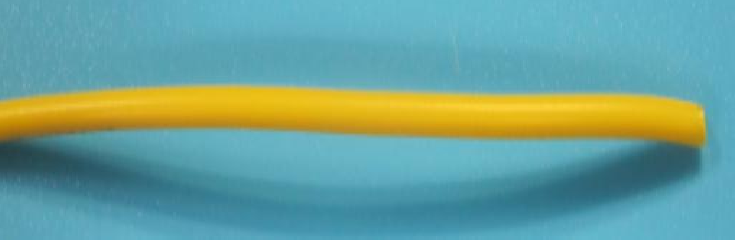 | Miller pliers |  | Optical fiber cutting knife (It is recommended to use a SUMITOMO FC-6S or another mainstream product with the same functions) | 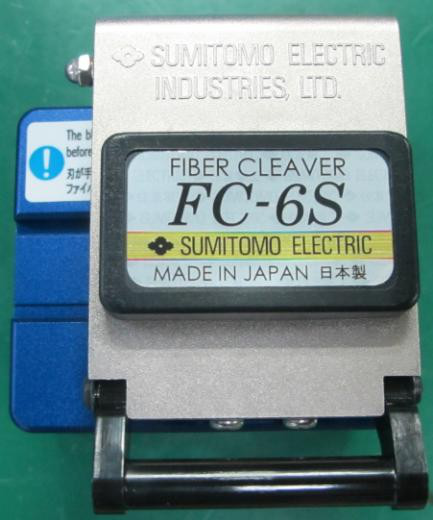 |
| Butterfly-shaped sub-cable of the hybrid cable (a 50 cm sub-cable peeled off from the hybrid cable.) |  | Dust-free paper (with alcohol) | - | ||
Set the fiber fusion splicer
Clean the fusion splicer: Clean the optical fiber clamp, fixing area, and discharge electrode in accordance with the user manual for the device. If the number of times that the electrode is discharged is close to the upper limit, replace the electrode with a new one with the same brand in a timely manner.
Set the splicing mode to AUTO mode for the optical fiber.
Set the length of the heat-shrinkable sleeve to 60 mm, the heating time to 30 s, the heating temperature to 240℃, the temperature at the end of heating to 100℃. Or, use the heat-shrinkable sleeve to perform an actual test on the fusion splicer, and then determine the heating mode.
The heating time depends on the degree to which the heat-shrinkable sleeve is completely melted into a whole and is transparent.
Make preparations before optical fiber fusion splicing
Remove the nuts at the two ends of the fusion-splicing protective tube to show the claws at the ends. Make the optical-fiber pigtail cable pass through the fusion-splicing protective tube and a nut in turn,

Make the butterfly-shaped sub-cable of the hybrid cable pass through the heat-shrinkable sleeve and the other nut in turn.

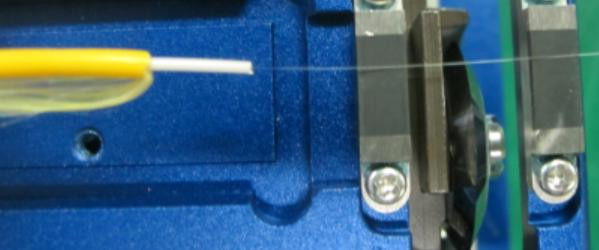
1. Use the sheath cable stripper to peel off the butterfly-shaped cable to expose the optical fiber for over 40 mm.
2. Use the Miller pliers to strip off the coating on the optical fiber. A coating of about 5 mm should be reserved at the tail end of the optical fiber.
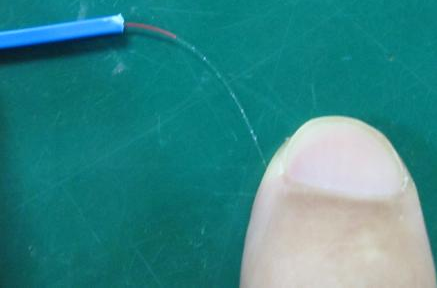
3. Bend the optical fiber in the horizontal direction and vertical direction three times respectively, at a bending angle of about 60°. If the fiber is not broken, it indicates that the fiber is not damaged.
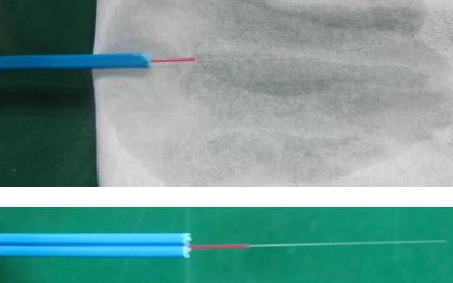
4. Use the dust-free paper soaked with alcohol to wipe the optical fiber in the horizontal direction and vertical direction respectively to remove the coating and dust from the optical fiber. Do not make the wiped fiber touch other objects.
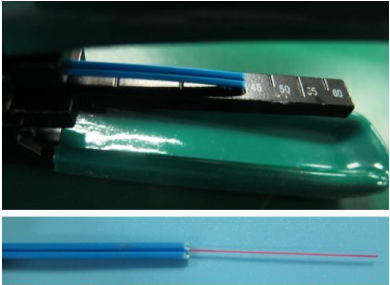
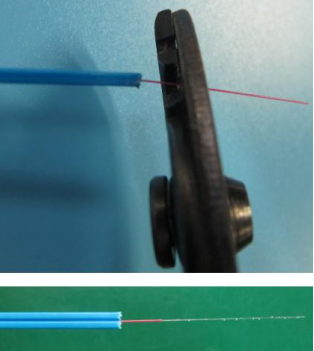
5. Use the optical fiber cutting knife to cut the optical fiber. Ensure that the total length of the optical fiber is 16 mm~20 mm after being cut. It is recommended that the length of the remained optical fiber be 18 mm. When cutting the optical fiber, make sure that the optical fiber is 90° perpendicular to the knife. The optical fiber, after being cut, especially the end face, is prohibited to touch other objects. Otherwise, the optical fiber should be cut again.
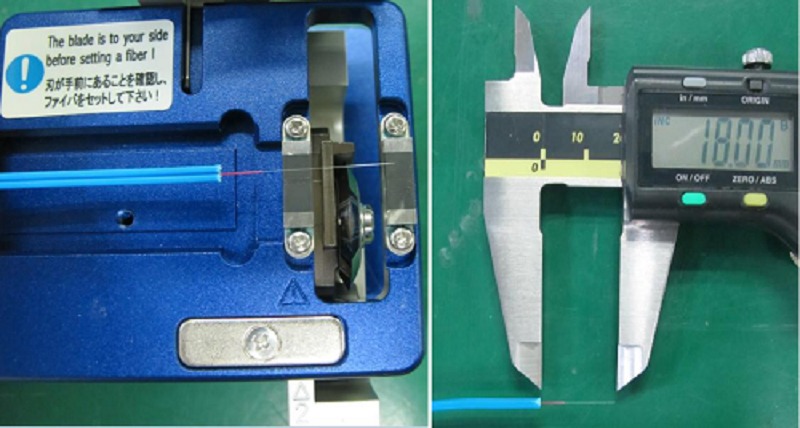
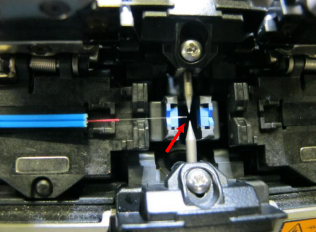
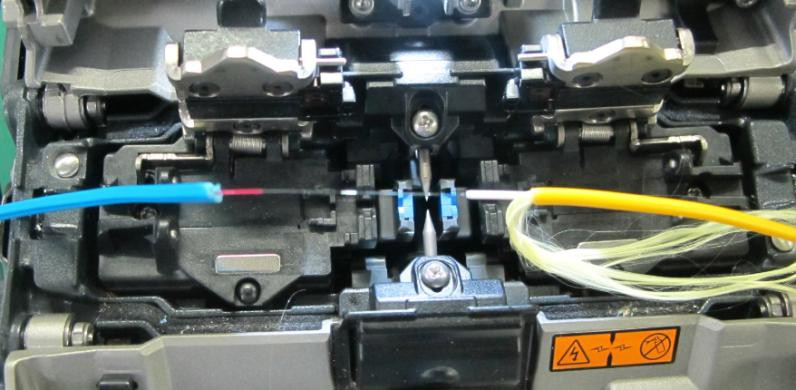
6. Place the optical fiber on the fusion splicer side carefully and fix it. Ensure that the front end of the optical fiber is placed between the base and the electrode. Otherwise, the optical fiber cannot be fusion-spliced.
1. Use the Miller pliers to peel off the outer sheath of the tail cable for more than 40 mm, and keep the aramid fiber for about 10 mm. Use the Miller pliers to peel off the protective layer of the optical fiber segment by segment. Keep a protective layer of about 5 mm at the end of the optical fiber.


2. Bend the optical fiber in the horizontal direction and vertical direction three times respectively, at a bending angle of about 60°. If the fiber is not broken, it indicates that the fiber is not damaged.
3. Use the dust-free paper soaked with alcohol to wipe the optical fiber in the horizontal direction and vertical direction respectively to remove the coating and dust from the optical fiber. Do not make the wiped fiber touch other objects.
4. Use the optical fiber cutting knife to cut the optical fiber. Ensure that the total length of the optical fiber is 16–20 mm after being cut. It is recommended that the length of the remained optical fiber be 18 mm. The optical fiber, after being cut, especially the end face, is prohibited to touch other objects. When cutting the optical fiber, make sure that the optical fiber is 90° perpendicular to the knife.
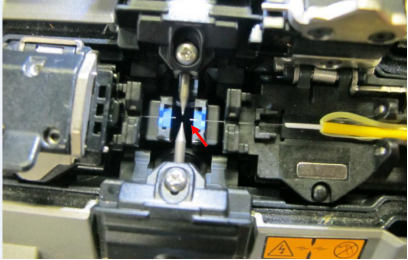
5. Place the optical fiber on the other side of the fusion splicer carefully and fix it. Ensure that the front end of the optical fiber is placed between the base and the electrode. Otherwise, the optical fiber cannot be fusion-spliced.
1. After placing the butterfly-shaped cable and tail cable, close the wind shield of the fusion splicer, and press the SET button to fusion-splice the optical fiber.
2. After the fusion splicing is completed, open the wind shield, and observe the fusion splicing result. If the optical fiber is smooth, if there is no obvious blister or bulge, and if the optical fiber is not broken after being stretched slightly, the fusion splicing succeeds. Protect the fusion-spliced optical fiber and do not bend it.
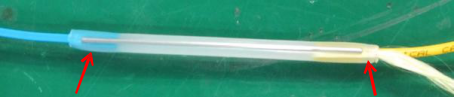
1. Push the heat-shrinkable sleeve from one side of the butterfly-shaped cable to the middle of the two optical cables. Ensure that on the two ends of the sleeve there are about 10 mm outer sheaths of optical fibers inside the sleeve, and the aramid fiber on the tail cable side must be inserted into the heat-shrinkable sleeve. Align the heat-shrinkable sleeve with the length tag line of the fusion splicer, and place the heat-shrinkable sleeve in the heating section.

2. Press the Heating key to heat up the heat-shrinkable sleeve to make it shrink.
3. After the heat-shrinkable sleeve cools and solidifies completely (it usually takes three to five minutes depending on the temperature during construction), take out the optical fiber. The heat-shrinkable sleeve should be completely melted from both ends to the middle. Pull the optical cable gently to check the tensile strength. Before the heat-shrinkable sleeve cools and solidifies completely, do not pull or move the optical fiber. Otherwise, residual stress will be introduced and the optical fiber will be broken.
4. You shall use a visual fault locator to check the optical cable. If there is any abnormal light leakage, cut the optical fiber and make a new one.
Push the fusion protective tube onto the heat-shrinkable sleeve. Slightly close the claws on both ends of the tube and tighten the nuts. After the nuts are tightened, the optical cable should be fixed firmly inside the protective tube without sliding. Till now, the optical fiber fusion-splicing is completed.

To make a two-core RJ45 power connector, you need to prepare the following tools and materials:
Tools: Tubular terminal crimping pliers (including at least specifications 1.5 mm2, 2.5 mm2, and 4 mm2), wire stripper, diagonal pliers, and flathead screwdriver.
Materials: Two-core RJ45 power plug, round tubular terminal, hybrid cable (preprocessing: remove at least 300 mm of the outer sheath and filling cord).
1. Use the wire stripper to peel off the insulated sheath of the power cord. The length of the removed sheath is the same as that of the tubular terminal. Twist the wires into one string, and then insert the string into the tubular terminal.
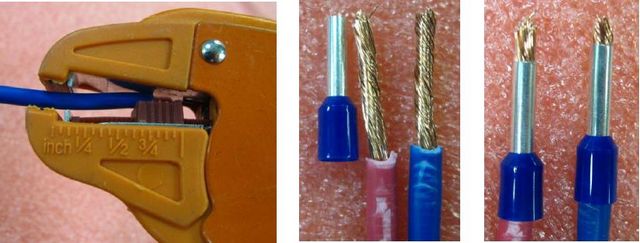
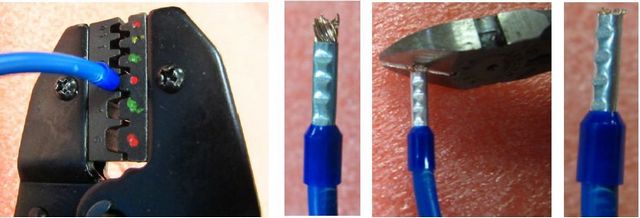
2. Use a pair of crimping pliers to squeeze the tubular terminal and use a pair of diagonal pliers to remove the excess wires at the front end.
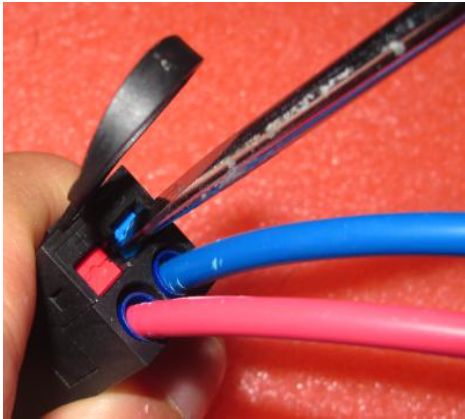
3. Insert the crimped terminal into a jack of the two-core RJ45 power plug according to the color. After it is inserted in position, you can hear a tick. Pull the power cord. If the terminal does not move in the plug, the installation is completed. Otherwise, use little force to push it in position.
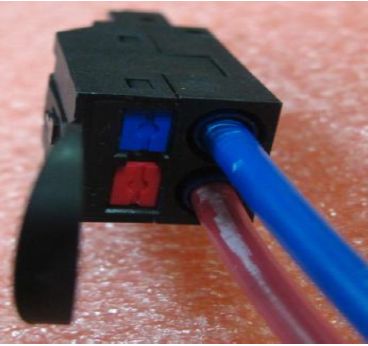
4. (Optional) Use a flathead screwdriver to press the slot in the middle of the color block of the power plug, and at the same time pull the cable gently. The terminal can be pulled out.